FastX Clustering (Version 3)
Note: For FastX Version 2 clustering, click here
Multiple FastX servers can be connected together to create a cluster. Clustering allows users to connect to any system and view/interact with/launch sessions in the cluster.
Clustering offers better security and load distribution over a single machine. Gateway servers can be used as the client access point while session servers can be hidden behind a firewall to do the heavy computing. Combined with load balancing, the power of FastX can be seen. New sessions can be routed to servers giving the implementers complete control of where sessions are started. Power users can integrate their own job scheduling software into the FastX cluster launching sessions when the server resources become available.
Setting up a cluster
Overview
FastX uses a distributed database with encrypted messaging to provide secure communication between servers. Each FastX server doubles as a database node. Access to the cluster is authorized by shared cluster keys. Messages between cluster members are encrypted using public/private key pairs of the individual nodes
Setting up a the cluster
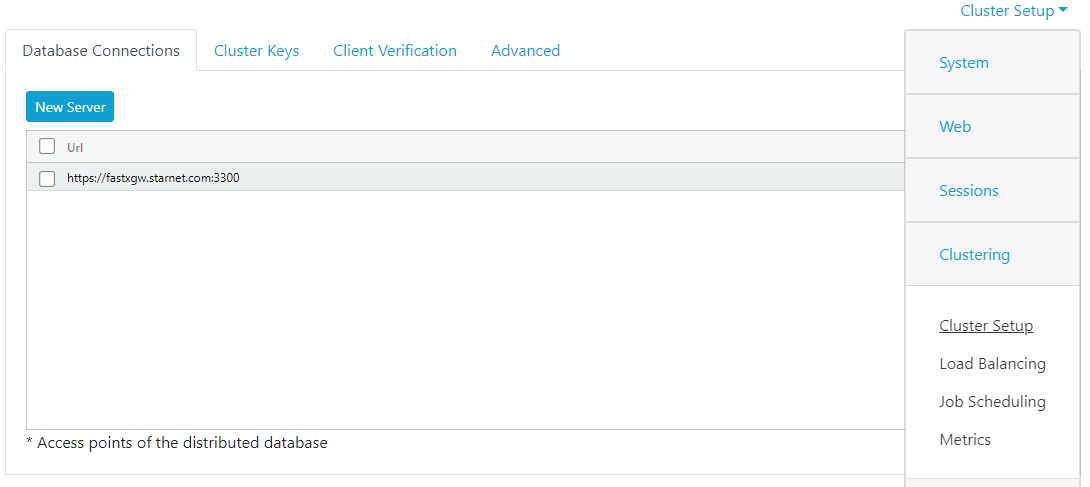
1. Set up the database connection
Add the URL of one or more cluster members to the database connections list. You do NOT need to add every cluster member to the list. A connection to the database grants you access to the cluster and all members in the cluster. Also note that all communication is bidirectional. If NodeA has connected to NodeB, NodeB does not need to connect back to NodeA
- Log in as an Administrator
- Go to the System > Clustering > Cluster Setup > Database Connections
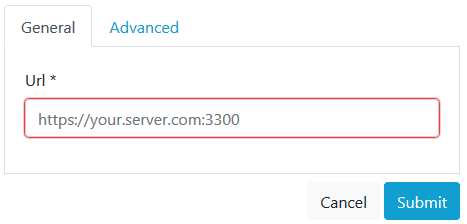
- Click New Server.
- Add the Url
- Repeat Steps 3 – 4 for multiple connections
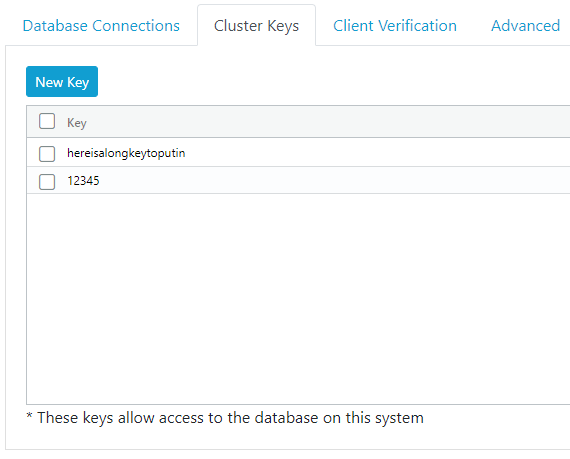
2. Set up the Cluster Keys
Cluster access is restricted by the use of secret keys. A JSON web token signed by a secret key is sent along with every request. The cluster node verifies the web token and allows access to the database. You can have multiple secret keys. If any key is valid you have access to the cluster
- Log in as an Administrator
- Go to the System > Clustering > Cluster Setup > Cluster Keys
- Click New Key.
- Add a secret key
- Repeat Steps 3 – 4 for multiple keys
3. Restart FastX
Notes
- Communication is bi-directional. The database server and the database client sync all information between each other.
- In production, all servers should use Valid SSL Certificates from a trusted certificate authority.
- To enforce certificate validation add the option “rejectUnauthorized”: false to the agent object in the Database connections section. ie.
-
{
“rejectUnauthorized”: false
}
Cluster Configurations
FastX can be configured in multiple ways to suit your network topology and use case. Below are common configurations to get you started
Server Cluster
Purpose
The server cluster is a traditional cluster where the user can start a session on any machine. The client has access to every machine and users are allowed to start sessions on any machine
Setup
- Create a cluster according to the steps listed above. No further configuration is needed. This is the default
- Restart
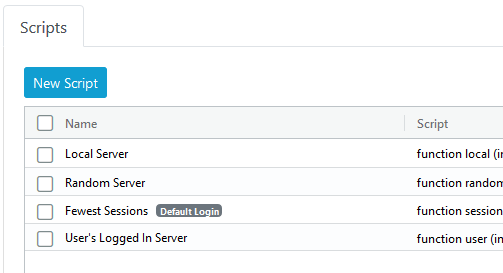
- Go to System > Clustering > Load Balancing
- Select a load balancing script to set for user logins
- Optionally set a load balancing script for load balancing when a user starts a session
- If Load Balance at Start is not set, new sessions will start on the user’s logged in system
Gateway Server
Purpose
Use the gateway server configuration when you want all traffic to be routed to a central node, and then the work distributed to other machines. This is usually done to create a single point of access to the users. The gateway server can be on an outside network while the session servers are on a private network.
Setup
Configure the Session Servers (Compute Nodes)
Create a cluster according to the steps listed above. Add the Gateway Server url as the database connection.
Configure the Gateway Server
The gateway server in this configuration is used as a proxy. Its job is to take the information form the client and proxy it over to a compute node. In this configuration, users can turn off logins and the ability to start new sessions on the server. This will effectively take the gateway server out of load balancing.
- Set up a cluster key to allow the session servers to access the gateway server.
- Restart
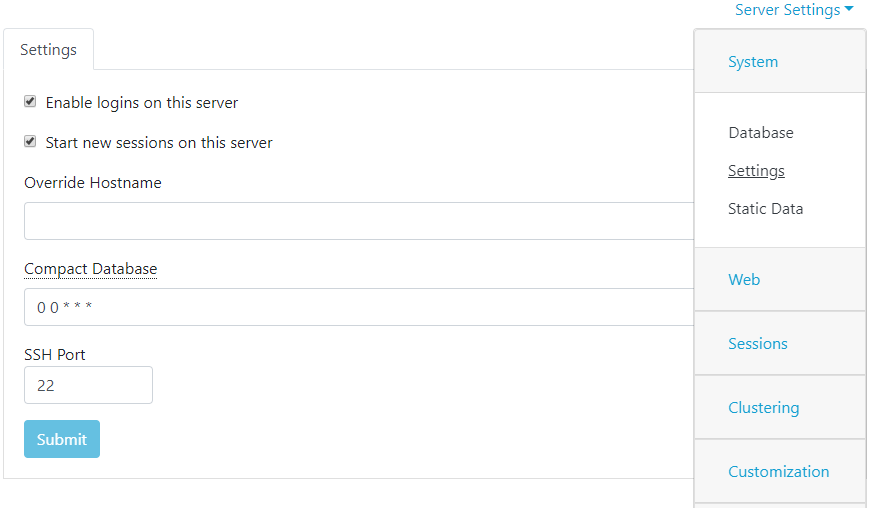
- Go to System > Settings > Uncheck the following
- Enable logins on this server
- Start new sessions on this server
- Save
- Set up load balancing
- Select a load balancing script to run at login
- Do not choose Local Server as you have turned off logins on the gateway server
Advanced Configurations
Advanced configurations can be set up. Please contact support with details of your setup to get more information.