Creating an SSH Connection (FastX 2)
The FastX 2 Desktop Client allows users to connect to the FastX 2 server via the SSH protocol. Authentication is done through SSH and all standard auth methods are supported. All data is securely encrypted and travels through an SSH tunnel on port 22. This method is a useful for users who are running through an existing firewall where new ports cannot be opened for the web client.
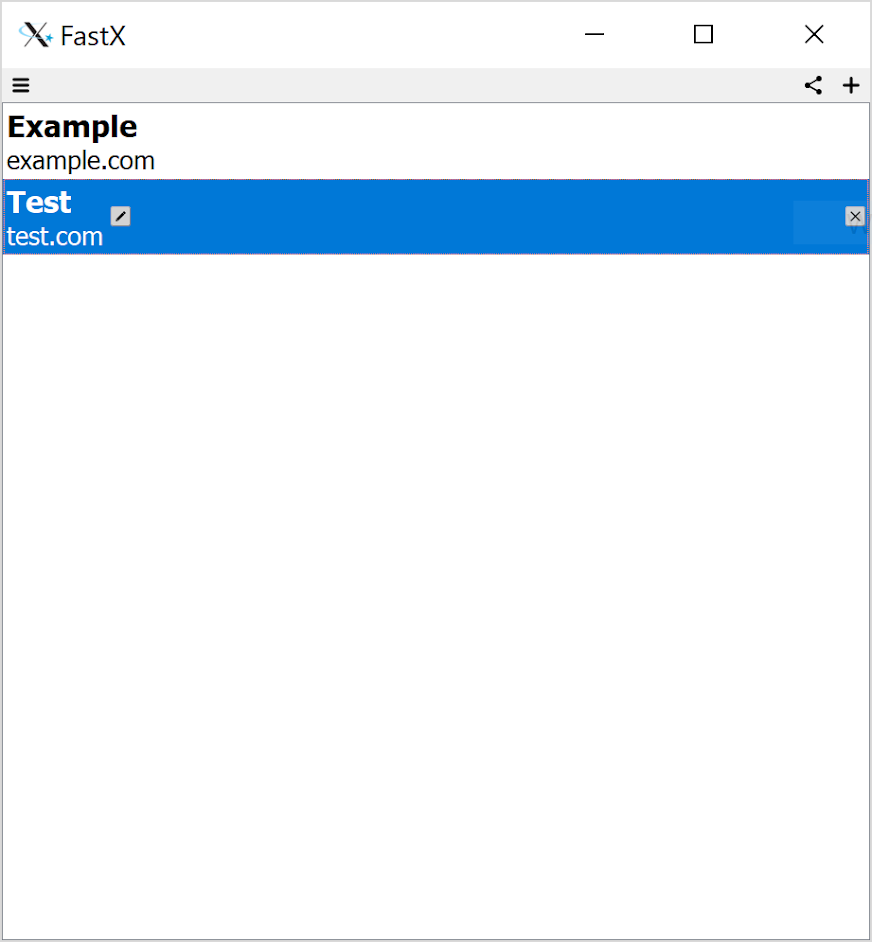
After creating a FastX ssh connection, the connection information will save as a list in the FastX client. Double clicking on a saved connection will launch an ssh connection to the host. A FastX session manager will appear where users can create or reconnect to a session.
FastX 2 Desktop Client:
Creating an SSH Connection
From the Connection Browser, click the ![]() button and choose SSH
button and choose SSH
An SSH Connection dialog box will appear
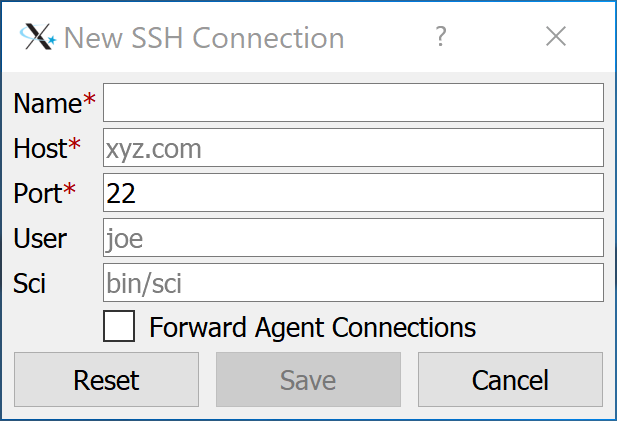
Name
Display Name of the connection to show in the Connection Browser
Host
SSH host you are connecting to
Port
SSH port (default 22)
User
Username to connect as
Sci (advanced)
For users who installed the FastX Server in an alternate location, this is the path to the FastX Sci script. For example, if the FastX2 server was installed in /opt/tools/fastx2/ the sci would be /opt/tools/fastx2/bin/fastx_sci
Forward Agent Connections
Forward SSH Agent requests to the client
SSH Public Key Authentication
Public key authentication is supported. The Mac and Linux Clients use the OS’s built in SSH tool. Please refer to your systems documentation for creating and adding ssh keys.
The Windows Client integrates with PuTTY’s Pageant Application. Download Pageant and add your ssh key to connect to your system