X-Win32: X-Config – Connections
Connections
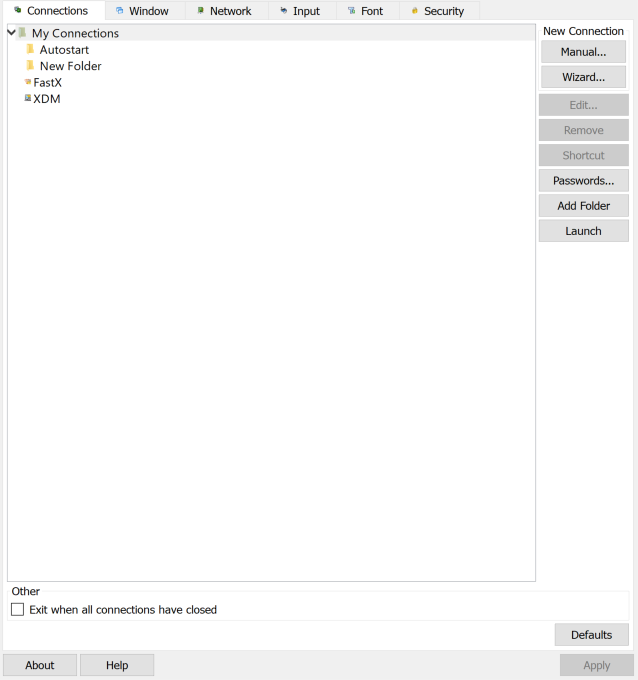
The Connection Tab is the most important Tab in X-Config. This tab allows a user to create edit and launch connections to remote hosts.
Creating a New Connection
|
Method |
Description |
|
Manual |
Click on the Manual button to Manually create a new Connection. All information is left blank for the user to fill in himself. Descriptions of the connection Properties can be found in each Connection Type’s respective chapter. |
|
Wizard |
Click on the Wizard |
|
Cloning Connections |
In the Connections Tab, right click on an already created connection to bring up the menu. The menu option Clone will give submenus for Manual and Wizard. Selecting a submenu item will bring up the Manual or Wizard connection method with the connection options prefilled which the user can change as needed. |
Launching Connections
After a Connection has been created, it must be launched in order to connect to the remote host. There are several methods available for launching connections via X-Config
-
Highlight the Connection and press the Launch button
-
Right Click on the Connection and press the Launch menu item
After you have launched the connection, X-Win32 will attempt to connect to your remote host. If an error occurs, the error will be displayed in the Status Dialog box.
* Launching a Connection When X-Win32 Starts (Autostart) *
Connections placed in the Autostart folder under My Connections will automatically be launched when X-Win32 starts up. This makes it very convenient to quickly connect to your remote system.
* Creating Shortcuts to Launch Connections *
.xw32 files have file associations with X-Win32. Double clicking on a .xw32 file will cause X-Win32 to automatically launch the Connection. A user can create a shortcut to the file in X-Config by highlighting the Connection and clicking the Shortcut button in the Connections tab. Double clicking on the created shortcut will launch the connection.
Editing Connection Settings
Once a new Connection has been made, a user can edit the Connection Properties by highlighting the Connection and pressing the Edit button, by right-clicking on the Connection and selecting Edit or by double clicking on the Connection. A dialog box will appear with all the Connection settings which can be changed as needed. Note that these settings can only be changed if the user has write permission on the directory where the Connections are stored.
Removing Connections
Connections are stored in .xw32 files on the user’s system. Connections can be removed by highlighting the connection and pressing the Remove button, or by right-clicking on the connection and selecting the Remove item. A user can also delete the .xw32 file from the system to remove the Connection.
Adding Folders
.xw32 files store the Connection options and can be stored in any directory on your system. Click on the Add Folder button to add a new path. The Name field is the name that will be displayed in X-Config and in the system tray. The location is the path to the specified directory. Use this option to centrally locate Connections for multiple users on a system or in a domain.
Password Manager
The Password Manager allows a user to quickly change the passwords of multiple Connections. This is an important feature if you connect to multiple servers and your password changes often (for example expiring passwords). Click on the Passwords button in the Connection Tab to Launch the Password Manager.
Selecting Connections
When the Password Manager Launches, a dialog showing all the current Connections with Password Properties appears. A user can manually check Connections the that he wants updated, or he can search for selected Connections using the Select button. Options to Select multiple Connections are listed below
|
Option |
Description |
|
Login |
Select all Connections with the specified Login name. This |
|
Old Password |
Select all Connections with the Stored Password that matches |
|
Not Stored |
Select all Connections where there is no Password saved |
Updating Passwords
After you have selected your Connections, press the Update button to update your Connections with a new Password. A dialog box will appear asking for the new Password. Enter in and confirm the new Password and click the OK button to update your Passwords
Clearing Passwords
After you have selected your Connections, press the Clear button to erase the Passwords from the system. The Connection will now launch with no Password stored. The user will be prompted to enter in the password after the connection has been launched.
Exit when all connections have closed
Automatically shut down X-Win32 when there are no more active connections.