Session Forms
Administrators can create custom forms in FastX that will appear in the start session dialog box. These forms allow admins to create user friendly options that will be added to the start data when sending the start command.
The purpose of these forms is to create a params object that will be passed with the start data. Administrators can use this params object to help customize the decision making of load balancers and job schedulers, or just to have extra information marked by the user at start. This data will be added to the params object of the session. Note the params object is mutable by the user meaning the user can be changed after the session has started. Administrators should not rely on this data after the session has started successfully.
Creating a Custom Params Form
System administrations may have custom parameters that they want their users to set when launching sessions. For example, if job scheduling, a system admin may want to know if a user needs a server with a video card. The custom params form allows the system admin to use basic html to create a form that will be injected into the start script.
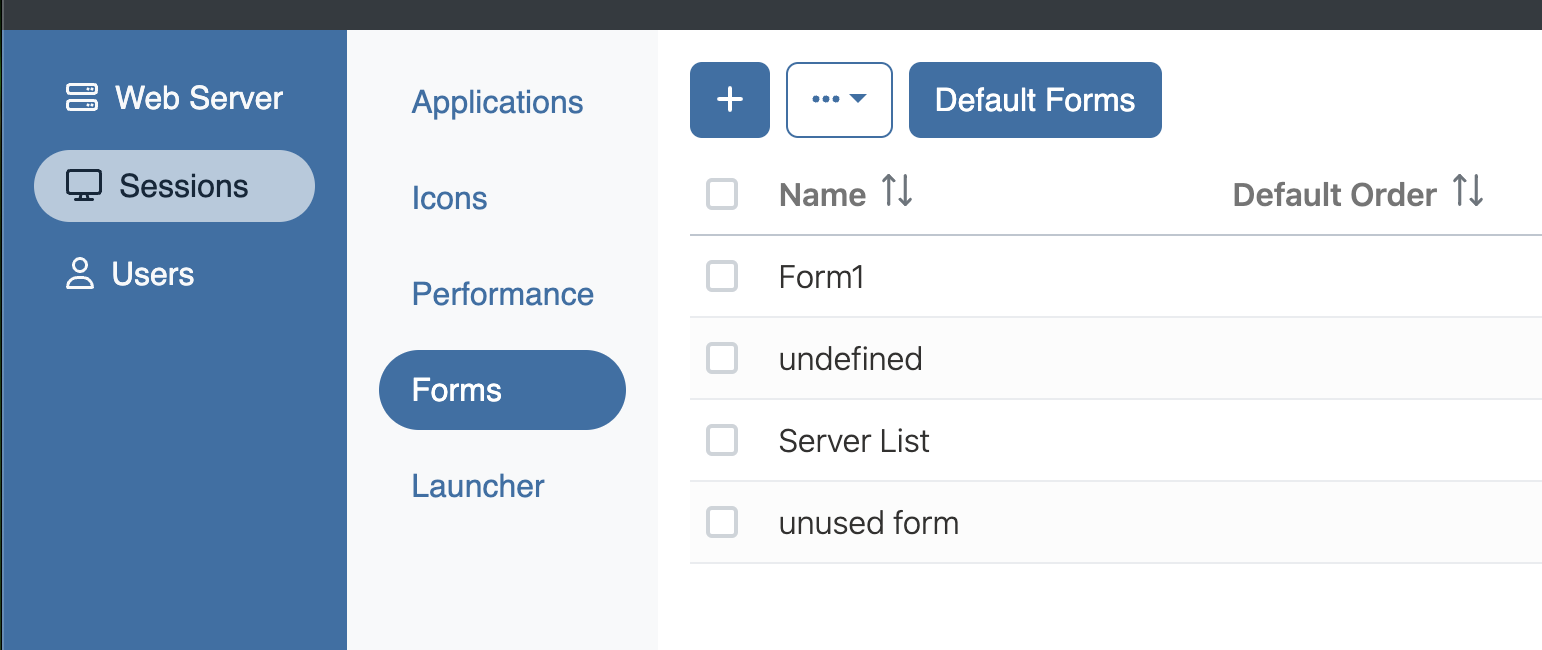
- Log in as an admin
- System > Sessions > Forms > Create a new form
- Save
The form allows for a subset of HTML to be used. Javascript is disabled to prevent XSS attacks. The admin can simply add in the form inputs he wants and it will appear.
FastX uses Bootstrap 4 styling which can be added to keep the look and feel consistent through the form. Valid input will be added to the params object of the start data.
Example
<div class="form-group">
  <label>My Custom Input</label>
  <input type="text" class="form-control" name="myCustomInput" />
</div>
<div class="form-group">
  <select name="minRam" class="form-control">
      <option value="1">1 GB</option>
      <option value="2">2 GB</option>
      <option value="10">10 GB</option>
  </select>
</div>
Setting myCustomInput to “hello” and selecting minRam to 1 GB will set the params object to
{
  "myCustomInput":"hello",
  "minRam": "1"
}
Note that both values are strings
data-type option
You can set a custom data-type attribute on a form input that will convert the string into a more useful type.
The data-type options include
number— parse the value as a Floating Point numberboolean— parse the value as a booleanjson— parse the value as a JSON object
Adding data-type to our original example
<div class="form-group">
  <label>My Custom Input</label>
  <input type="text" class="form-control" name="myCustomInput" />
</div>
<div class="form-group">
  <select name="minRam" class="form-control">
      <option value="1">1 GB</option>
      <option value="2">2 GB</option>
      <option value="10">10 GB</option>
  </select>
</div>
Will result in
{
  "myCustomInput":"hello",
  "minRam": 1
}
Reserved names
FastX automatically overwrites the following parameter names. You should avoid using these
name— sets the display nameicon— sets the default iconappId— sets the app id when connecting with an app. This id is used in making shortcutsbookmarkId— legacy name for appIdclientVersion— overwritten with the client version on connectclientId— The desktop client that connectedclientIP— IP address the client connected from (when using the desktop client)clientTransport— The method used to connect (“SSH”, “Web” etc)
Setting Forms
Once all the forms have been created and the filter function is set, the client needs to know which forms to send on start.
Administrators can add an ordered list of forms in a bookmark that will be attached to the bookmark.
For custom start commands, the administrator can set the default forms in the Admin > Sessions > Forms section