FastX 4.0 – Administrator Settings
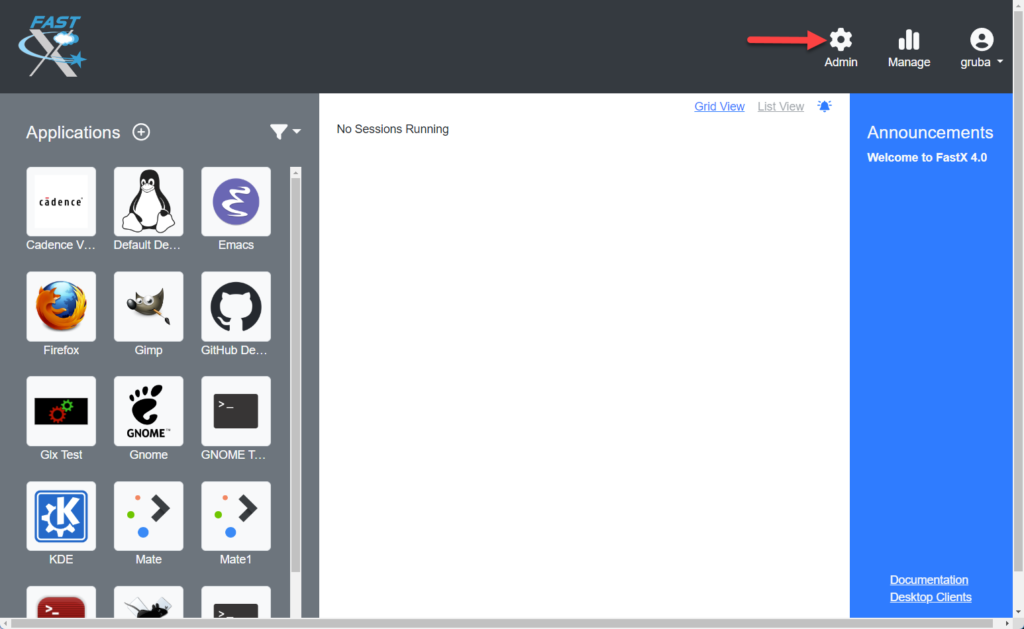
This section is accessible by logging into FastX as an administrator through a web browser. Select the Admin icon after login.
File Based Configuration
See FastX Configuration if you wish to configure FastX via files (for configuration via Ansible or Puppet, or to add to your GitOps toolchain)
Web Server
Settings
Settings for port used, certificates, private keys.
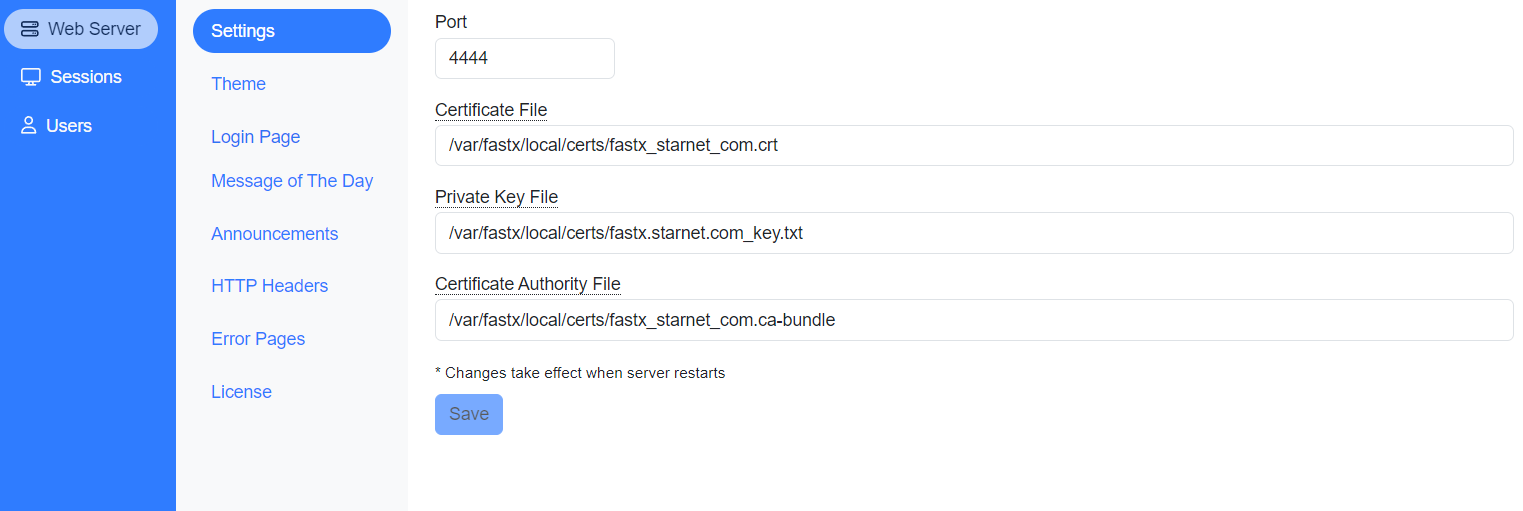
- Port – Port used to access FastX through a web browser. (Default 3300)
- Certificate File – Path to the certificate file. Relative paths are searched in the following order:
- /path/to/fastx/var/local/certs
- /path/to/fastx/var/certs
- Private Key File – Path to the private key file. Relative paths are searched in the following order:
- /path/to/fastx/var/local/certs
- /path/to/fastx/var/certs
- Certificate Authority File – Path to certificate authority file. Relative paths are searched in the following order:
- /path/to/fastx/var/local/certs
- /path/to/fastx/var/certs
Theme
Customize the look of the session manager and background of active sessions and background of the login page. Users may have to do a browser empty cache and hard reload to view change.
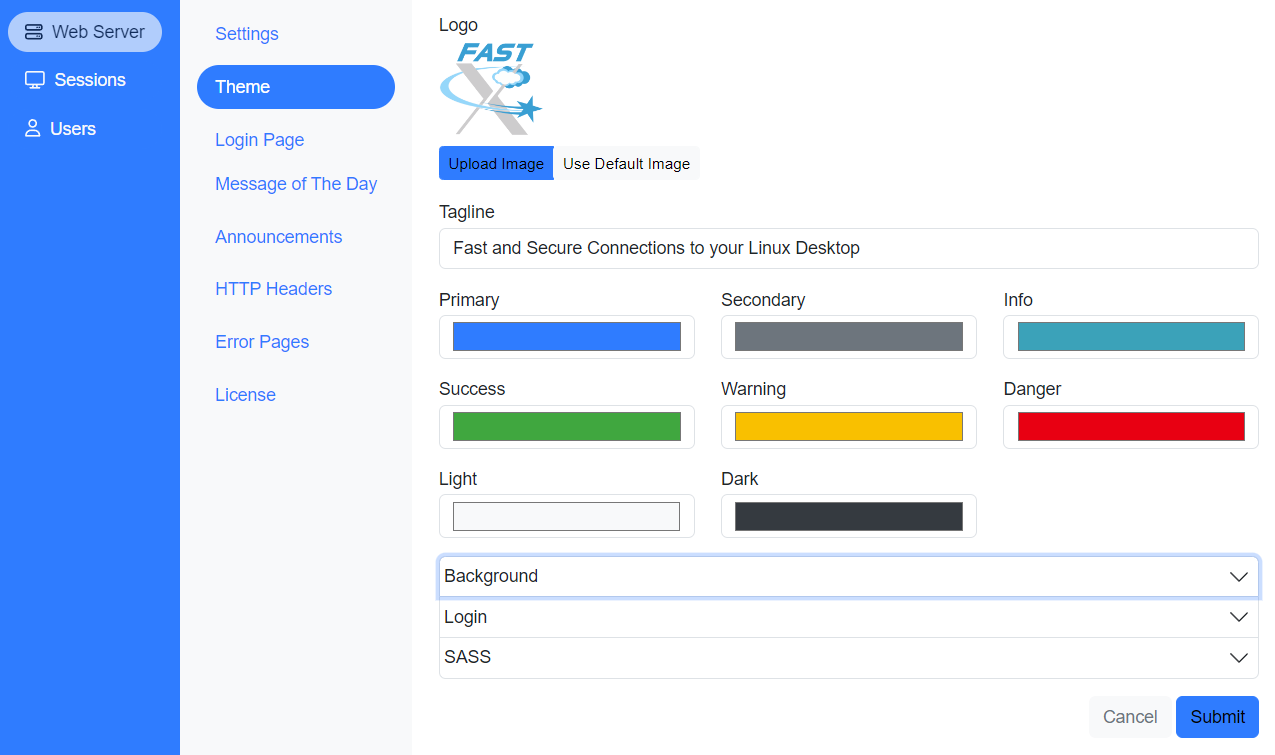
- Logo – Upload a logo image or use the FastX default image (1MB size)
- Tagline – Edit the tagline that is displayed on the login page.
- Primary – Edit the primary color of the user’s session manager
- Secondary – Edit the secondary color of the user’s session manager
- Info – Edit the info message color
- Success – Edit the color when a successful save.
- Warning – Edit the warning message color
- Danger – Edit the failed or error message.
- Light – Edit the light color in the user session manager and admin settings
- Dark – Edit the dark color in the user session manger and admin settings
Background
Edits the background of active sessions
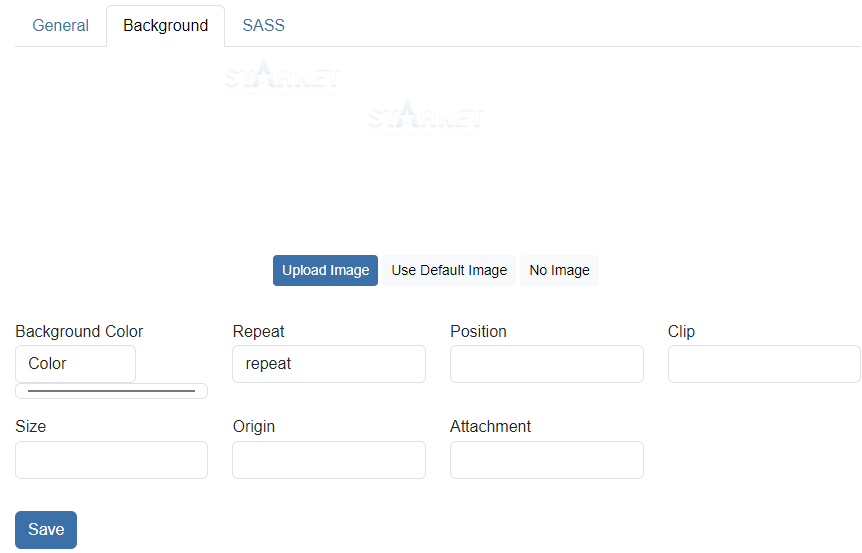
- Background Image
- Upload Image – Click button to upload an image
- No Image – Click on button to remove image
- Use Default Image – Will use the StarNet default image
- Color – Choose background color. Options include:
- Color
- Transparent
- Initial
- inherit
- Repeat – Choose background image repeat options:
- initial
- repeat
- repeat-x
- repeat-y
- no-repeat
- space
- round
- inherit
Click More link for additional option
- Position – Background image position value.
- Size – Size of background image.
- Origin – Choose origin of background image:
- initial
- padding-box
- border-box
- content-box
- inherit
- Clip – Choose clip of background image.
- initial
- padding-box
- order-box
- content-box
- inherit
- Attachment – Choose attachment setting of background image.
- initial
- scroll
- fixed
- inherit
Login
Edits the login page background
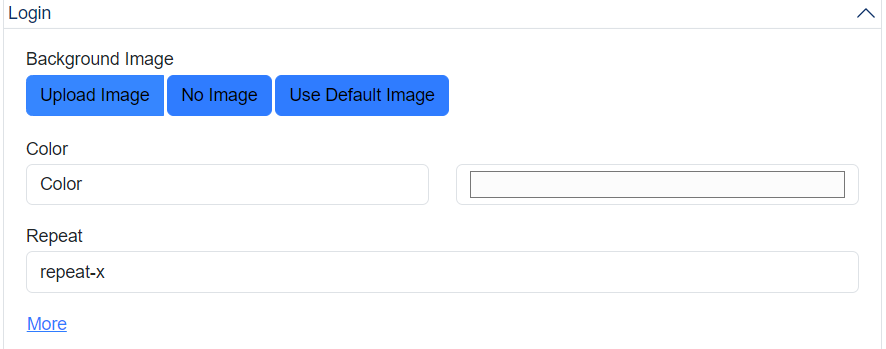
- Background Image
- Upload Image – Click button to upload an image
- No Image – Click on button to remove image
- Use Default Image – Will use the StarNet default image
- Color – Choose background color. Options include:
- Color
- Transparent
- Initial
- inherit
- Repeat – Choose background image repeat options:
- initial
- Repeat
- repeat-x
- repeat-y
- no-repeat
- space
- round
- inherit
- Click More link for additional option
- Position – Background image position value.
- Size – Size of background image.
- Origin – Choose origin of background image:
- initial
- padding-box
- border-box
- content-box
- inherit
- Clip – Choose clip of background image.
- initial
- padding-box
- order-box
- content-box
- inherit
- Attachment – Choose attachment setting of background image.
- initial
- scroll
- fixed
- inherit
Custom SASS
Custom SASS configuration to include in the theme
Login Page
Login page options that are displayed to users logging into FastX through a browser.
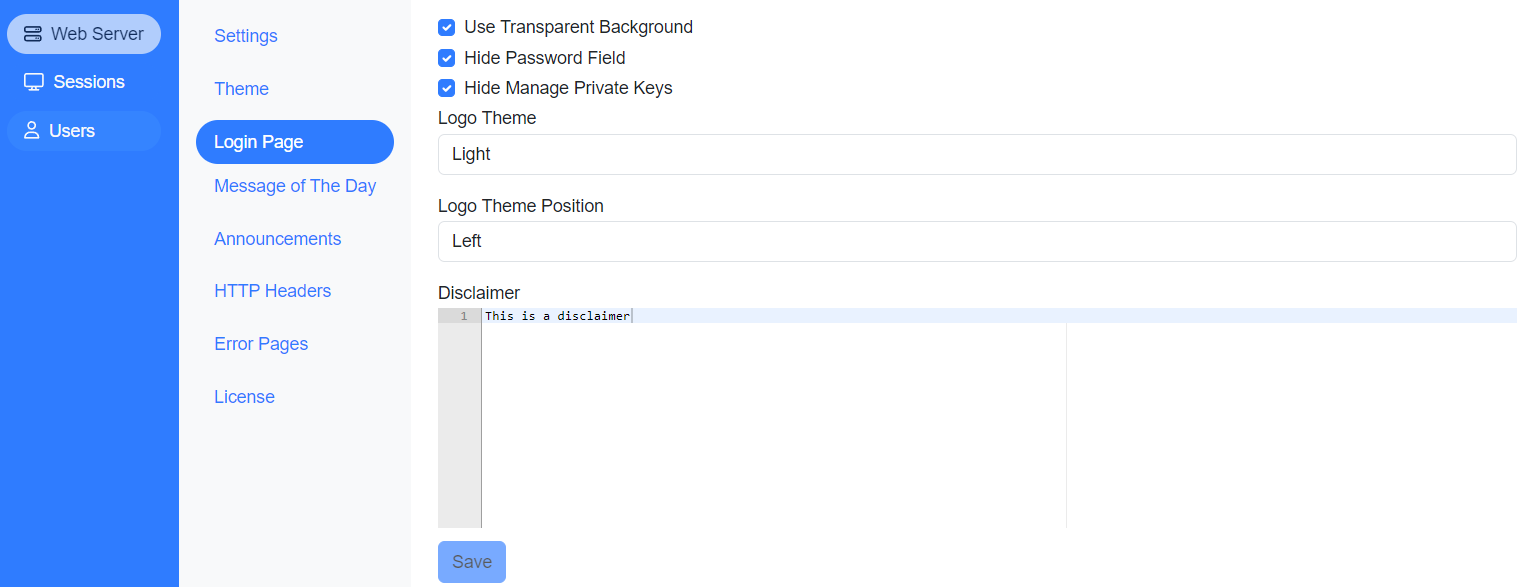
- Use Transparent Background – Check the box to use a transparent background for the user’s login page.
- Hide Password Field – Check the box to hide the password field box on the user’s login page.
- Hide Manage Private Keys – Check the box to hide private keys on the login page.
- Logo Theme – Background for the logo on the login page.
- Dark
- Light
- Transparent
- None
- Logo Theme Position – Position of the logo with relations to the login.
- Left
- Right
- Top
- Bottom
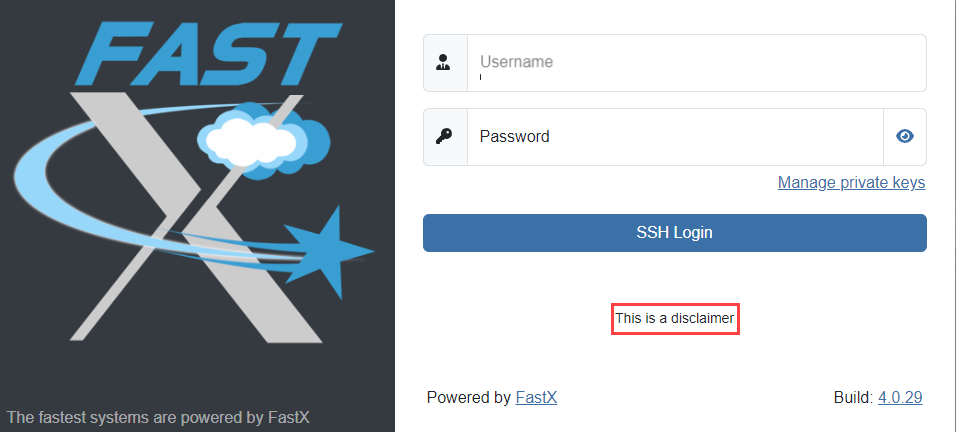
- Disclaimer – Add a disclaimer to the login page. The disclaimer will display below the login button.
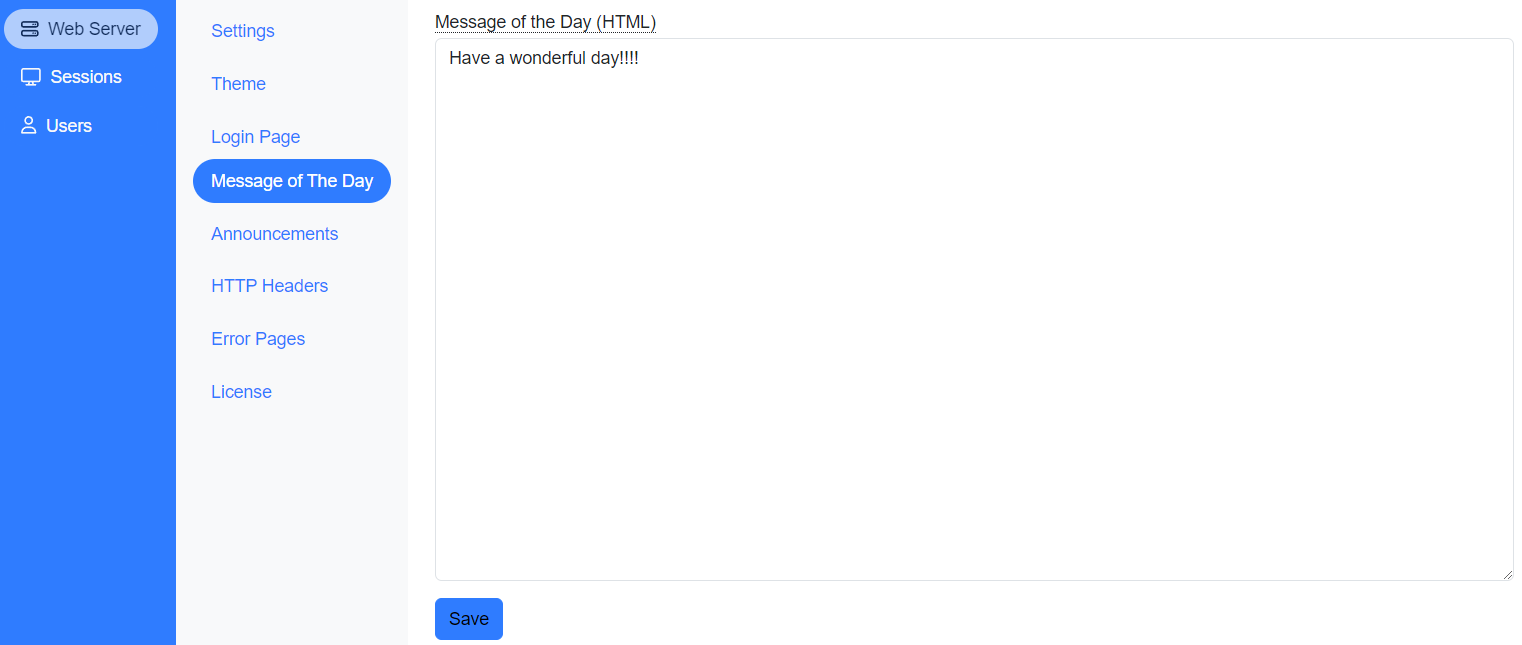
Message of The Day
Message of the Day (MOTD) is a message users receive after logging into FastX. The MOTD is written in html.
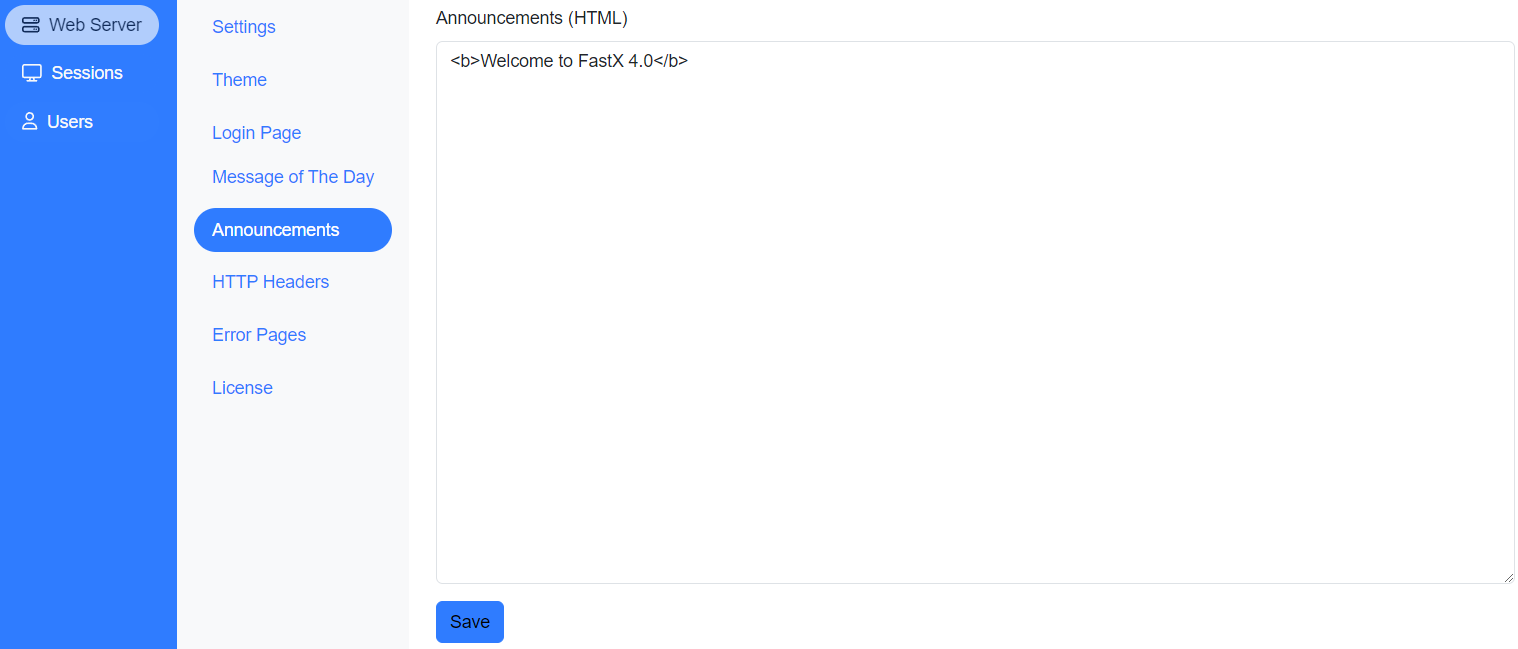
Announcements
Announcements are displayed on the user’s session manager page after the user logs in. Announcements are written in html.
HTTP Headers
Allows admins to send custom HTTP Headers on responses. There is a listing of existing HTTP Headers, which can be edited or deleted by clicking on the desired HTTP Headers.
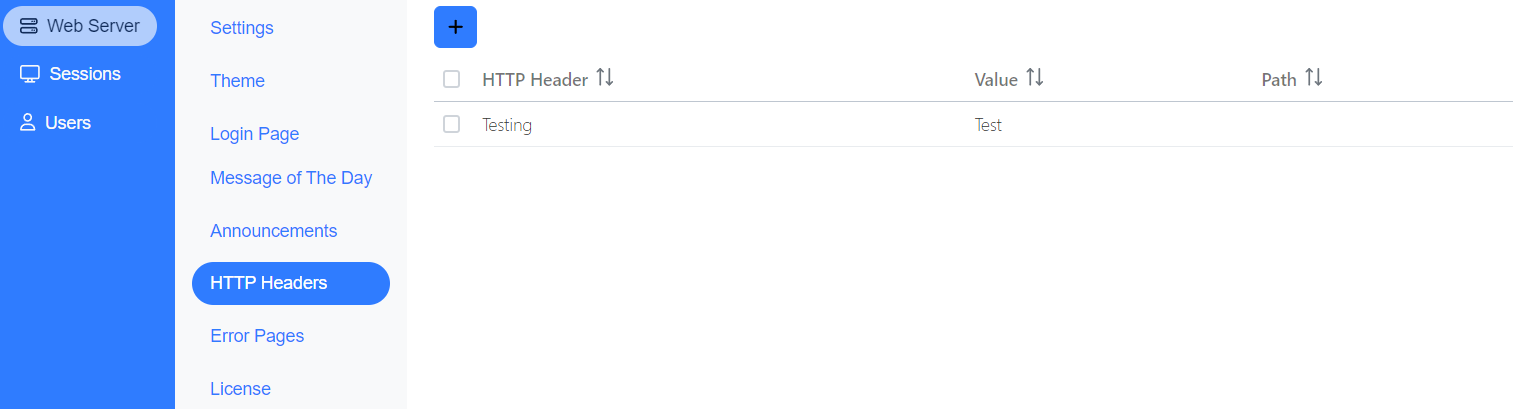
- Http Header – Name of http header
- Value – Value of http header
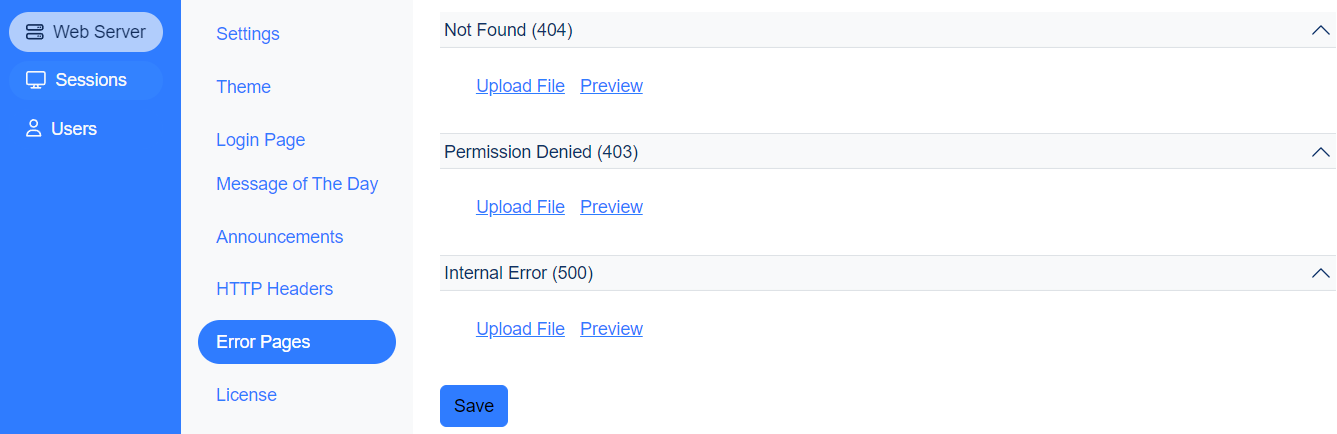
Error Page
Upload custom the web page for Not Found, Permission Denied, and Internal Error.
License
Licenses can be registered or License files reread or deleted.
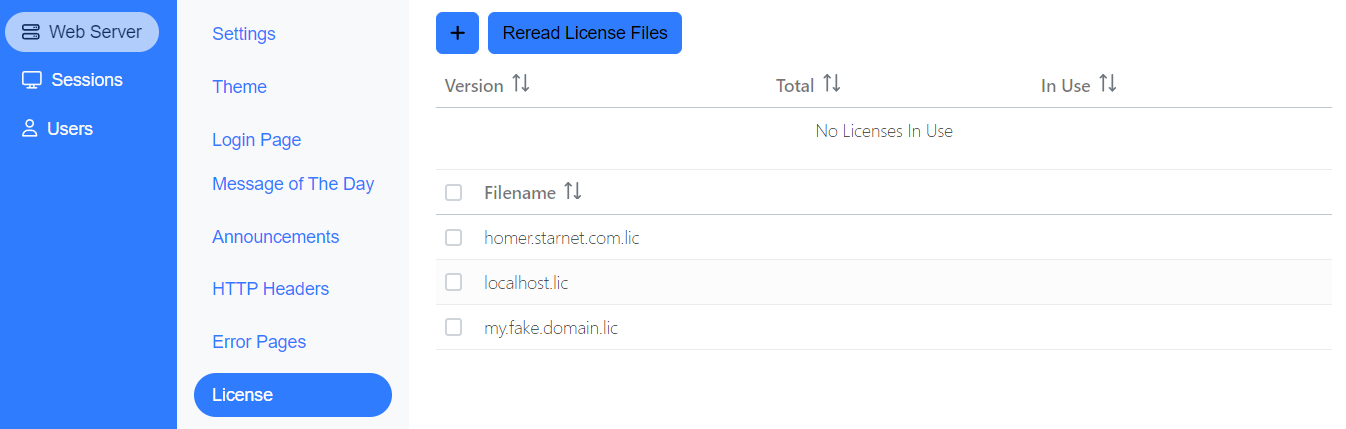
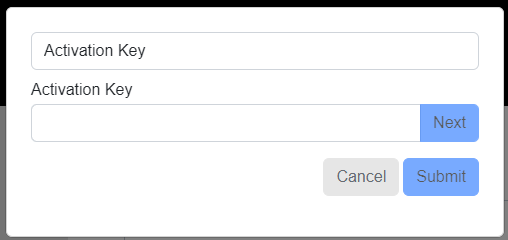
Click on the plus button to activate a license key, upload a license file, or point this install of FastX to a license server. Click on the drop down to select options. (Activate Key is the default selection)
- Activate Key – Enter license key in the Activation Key field and then hit Submit button.
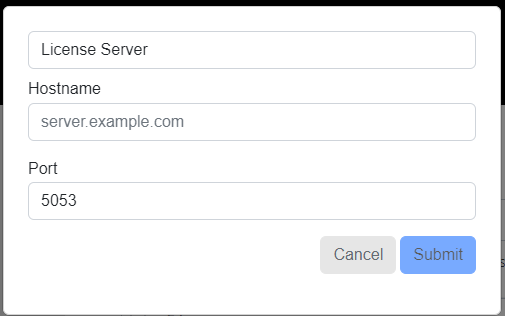
License Server – Enter the hostname or IP address of the license server. By default the port used by the license server is 5053. Then hit the Submit button.
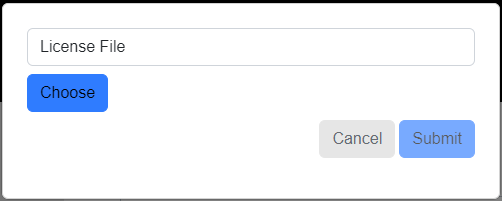
License File – Click on the Choose button to select the license file and then hit the Submit button.
Sessions
Applications
Administrations can create and edit global applications in which users can launch.
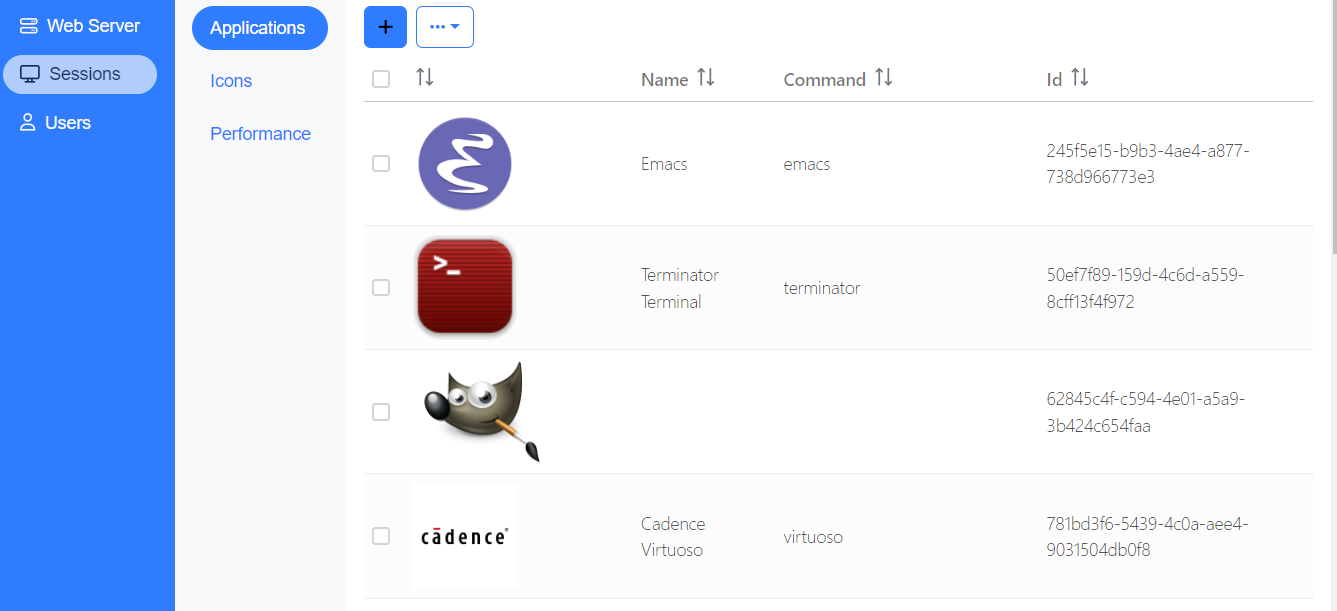
Click the button to create a new Application. An Application creation window will appear.
General
Please fill the form to create the Application.
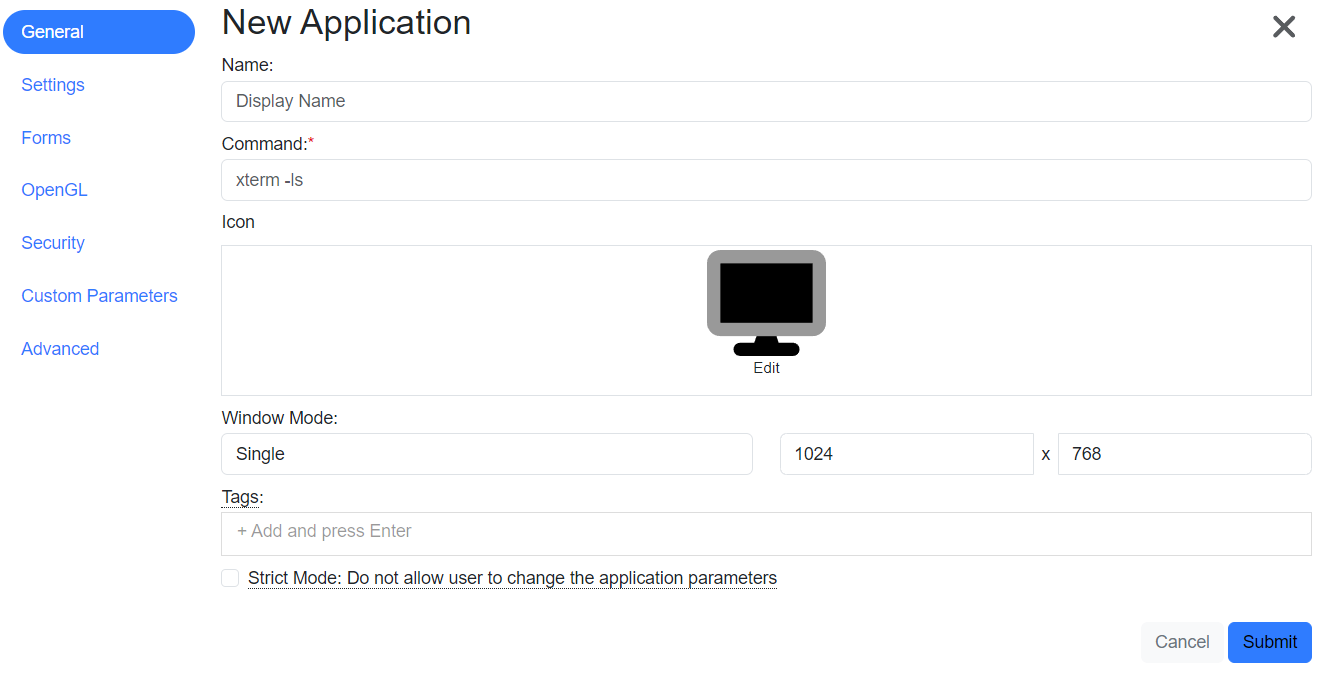
General
- Name – The name of the Application.
- Command (Required) – The command to launch the application.
- Icon – Click on the icon to bring up default icons or upload a custom icon that will be displayed.
- Window Mode – Window mode for the application
- Single – Launches the application in a single window. Resolution can be adjusted (Default is 1024 x 768)
- Multiple – Launches the applications in a rootless window. In this mode, applications can prompt multiple windows. (DO NOT USE WHEN LAUNCHING A DESKTOP)
- Fullscreen – Launches the application in full screen mode. (Only for launching Desktops)
- Tags – Adds a tag to the application. Enter in the name of the tag and hit Enter. Tags can be sorted by users from their dashboard.
- Strict Mode: Do not allow user to change the application parameters – Check the box to deny users the ability to change the application before launching
Settings
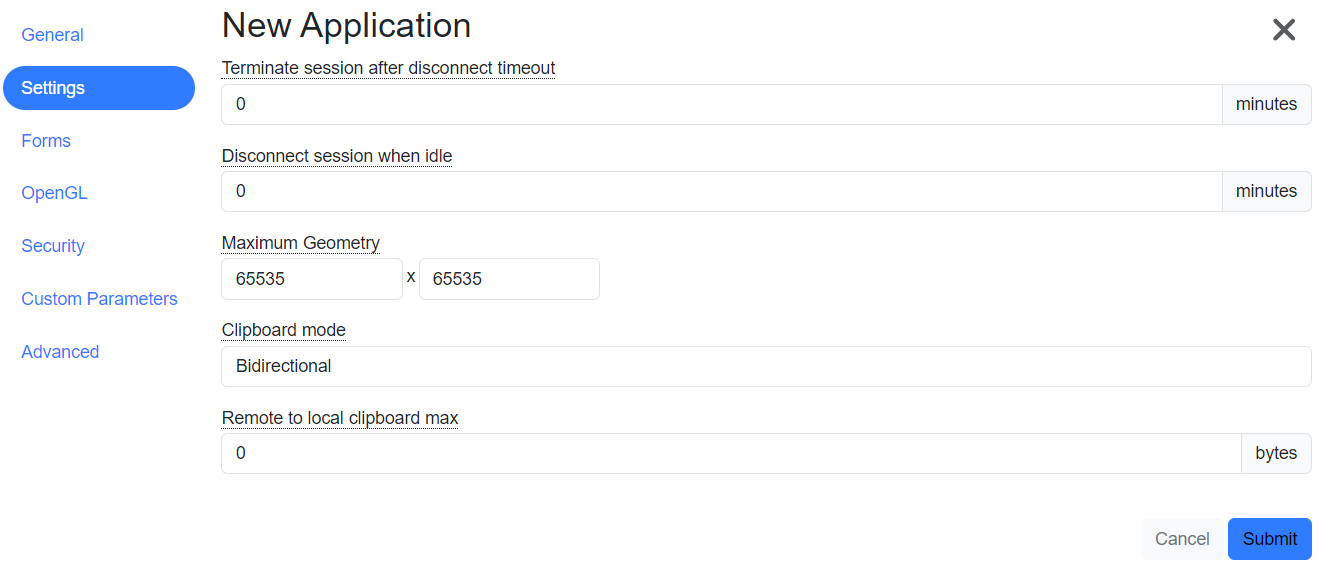
- Terminates session after disconnect timeout – Enter the number of minutes in which the application with this Profile will timeout after being disconnected.
- Disconnect session when idle – Disconnects a connected session when when the mouse or keyboard is inactive after a set time in minutes
- Maximum Geometry – Set the maximum geometry of a session can be.
- Clipboard mode – Set limit on an applications clipboard access using the drop down.
- Disable – Disables clipboard
- Bidirectional – Enables full access to the clipboard
- Local to Remote Only – Clipboard is only available from the client to the remote host
- Remote to Local Only – Clipboard is only available from the remote host to client
- Remote to local clipboard max – Enter the maximum number of bytes that can be sent from server to client per clipboard operation. Setting maximum to 0 will make the bytes unlimited.
- Start Dbus when session starts – Check the box to start Dbus when launching application.
OpenGL
OpenGL setting options
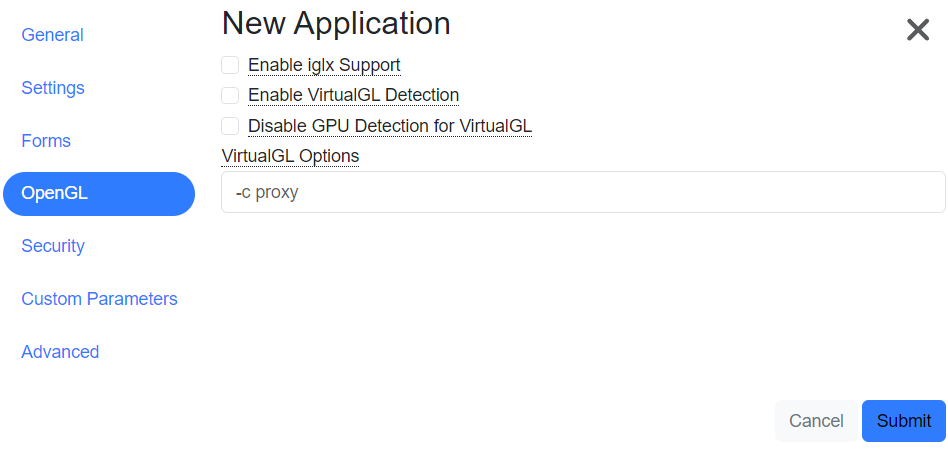
- Enable iglx Support – Check the box to enable. Older OpenGL applications may use different libraries and fail to run properly. Enable this option if your OpenGL application is failing.
- Enable VirtualGL Detection – By default, attempt to run sessions through VirtualGL. Disabling this option will explicitly turn off running the application through the shipped VirtualGL.
- Disable GPU Detection for VirtualGL – Uncheck box to enable this option. The host must have a GPU to utilize this option.
- VirtualGL Options – Vglrun command line options.
Security
Security options for sessions.
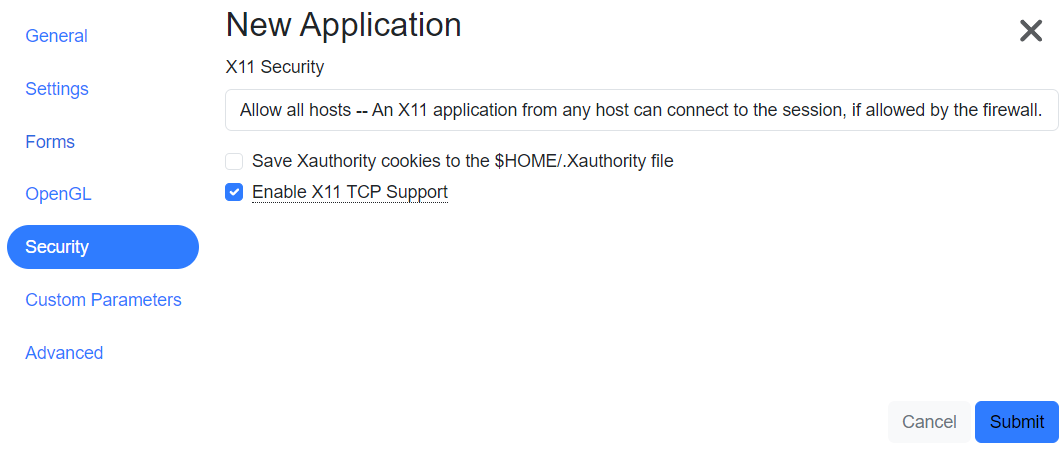
- X11 Security – Click on drop down for X11 security
- Local connections only – Any X11 application can connect from the system on which the session is running.
- Allow all hosts – An X11 application from any host can connect to the session, if allowed by firewall.
- Use Xauthority cookie – Require Xauth cookie to connect
- Save Xauthority cookies to the $HOME/.Xauthority file – By default Xauthority cookies are stored in their own private location. This is to avoid polluting the $HOME/.Xauthority file with old session cookies. However, some misbehaving applications only look in the $HOME/.Xauthority file for authorization. Enabling this option puts the cookie in the $HOME/.Xauthority file to enable these applications to function properl.
- Enable X11 TCP Support – Check the box to enable. Certain applications require systems to listen for incoming connections to function properly. Enable this option if your application needs to connect to its X11 DISPLAY.
Containers
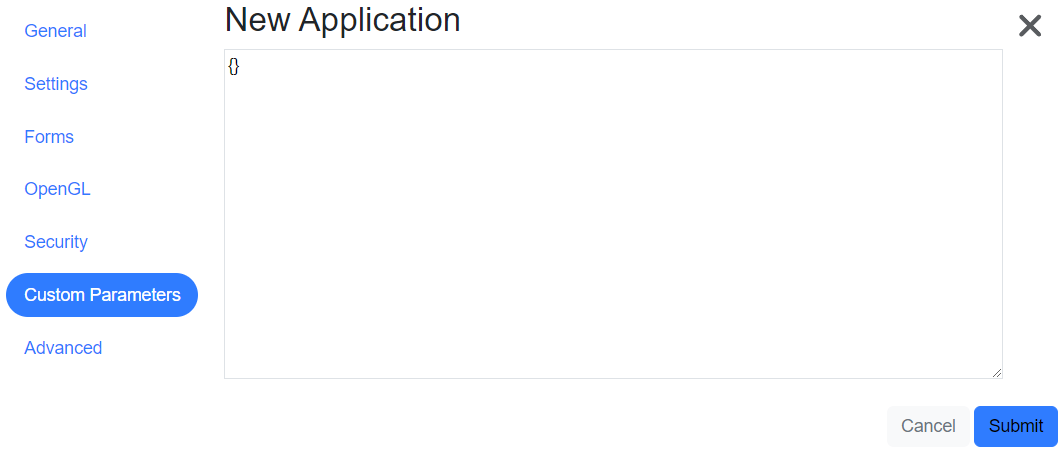
Custom Parameters
JSON object of custom parameters to add to the application. These can be overridden by the user.
Advanced
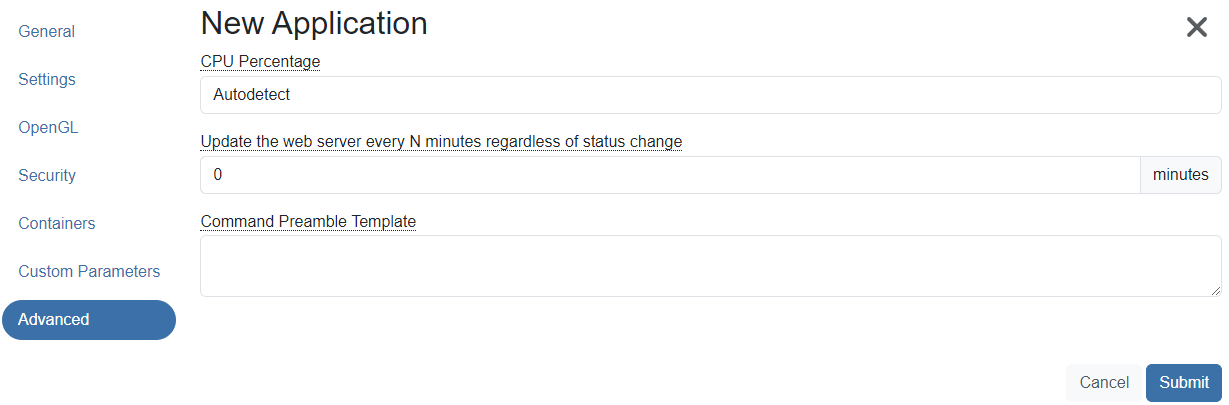
- CPU Percentage – Maximum % of CPU FastX will use for compressing images. Systems with fewer cores should have a lower CPU percentage. Systems with 8 or more cores should use 100%. Autodetect will determine the number of cores on the system and will adjust accordingly.
- Update the web server every N minutes regardless of status change – Updates the web server even if nothing has changed.
- Command Preamble Template – Prepend the Command String with the following.
Icons
Upload icons to be used by applications. Click the button to upload icon (1MB max size).

Performance
Performance settings are preconfigured settings after an user launches an application. Settings include image format, compression level, scaling, etc.

Click the button to create a new Performance setting. A Performance creation window will appear. Please fill the form to create the Performance setting.
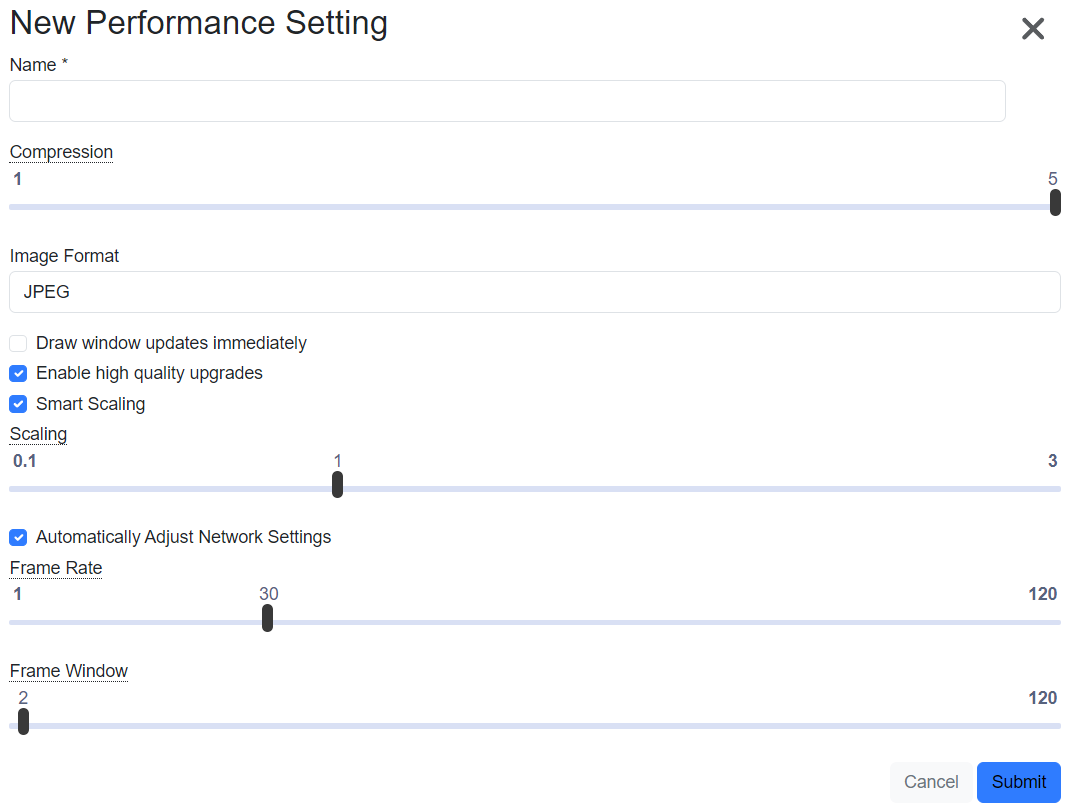
- Name (Required) – Enter name of performance setting
- Compression – Adjust the compression with a slider. The slider toward left will use less bandwidth however image quality will decrease. The slider to the right will increase the image quality of the session but will use more bandwidth.
- Image Format is the image format that FastX will render.
- JPEG – Lowest Server Work, Medium Bandwidth, Artifacts if Lower than level 5 – Best Balance, Can often be the fastest because of the speed to compress
- PNG – Lossless Image Quality at any level, High BW requirements, Medium Server Work — Best for LAN and High Speed Networks
- WebP – Lowest Bandwidth Requirements, Highest Server Work, Artifacts if lower than level 5 – Best for low bandwidth needs with powerful server
- Draw window updates immediately – Immediately updates the image when changed.
- Enable high quality image upgrades – Will update with a high image when bandwidth is available. May slow down session performance.
- Smart Scaling – Auto scales the session.
- Scaling – Scaling can be adjusted with the slider. Moving the slider to the right increases the zoom. (1.5 = 150% zoom)
- Automatically adjust network settings – Check the box to adjust the FastX network settings automatically. Provides a more snapper session experience.
- Frame Rates – Sets the maximum frames per second
- Frame Window – Maximum number of frames that are allowed in transit. (FastX desktop client only)
Users
Permissions
Set the permissions that a limited user can do on himself and his sessions. If a user is in the Full User Group, all permissions will be set to true.
Admin
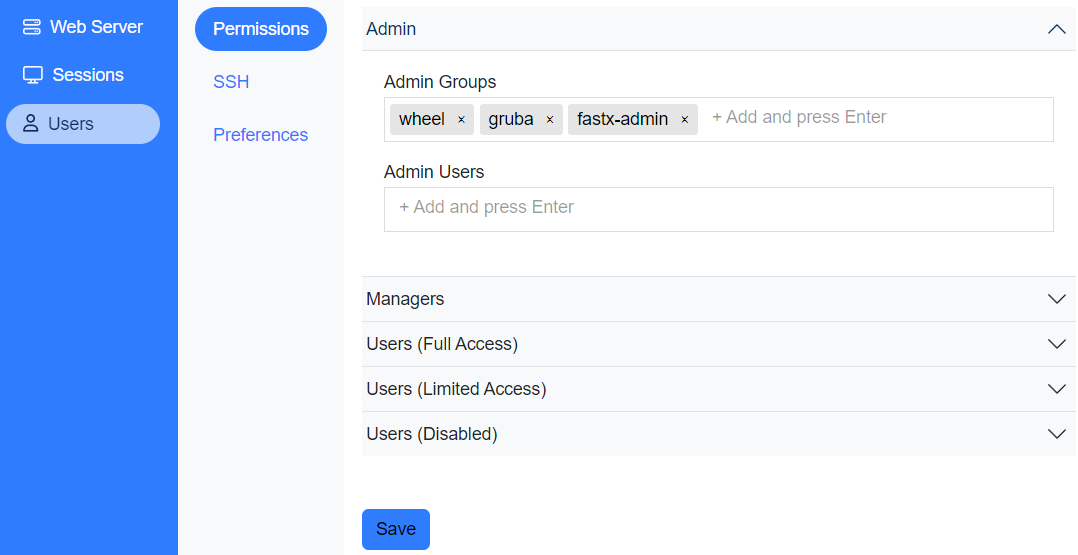
- Admin Groups – Linux user groups that will be admins. Input admin group name and hit enter to add to group.
- Admin Users – Users that will be admins. Input username and hit enter to add as admin.
Managers
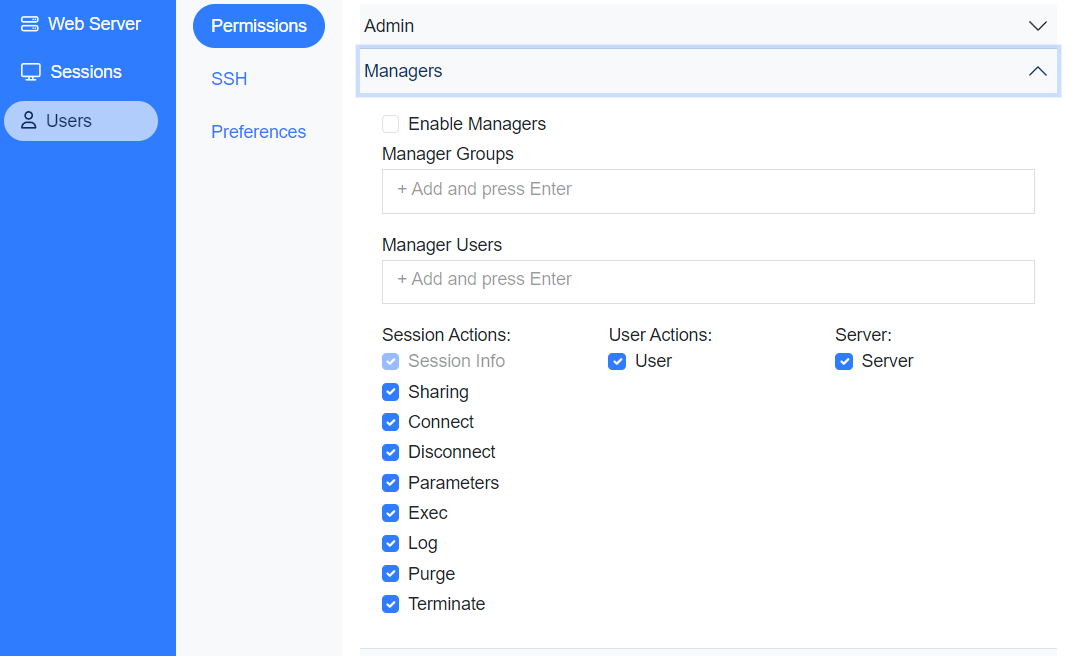
- Enable Manager – Enables Manager permissions. If this is disabled, there are no managers.
- Manager Groups – Input group name and hit enter. Click “x” to delete the group. Input manager group name and hit enter to add the manager group.
- Manager Users – Input user name and hit enter. Click “x” to delete the group. Input username and hit enter to add as manager.
- Session Actions – Unchecking any of the following options will disable the action(s) for managers.
- Session Info
- Sharing – Session Sharing
- Connect – Launch an application
- Disconnect – Disconnect from a running session
- Parameters – Set parameters for a session
- Exec
- Log – Access logs of a session
- Purge – Purge an active session from host
- Terminate – Terminate an active session
- User Actions
- User
- Server
- Server
Users (Full Access)
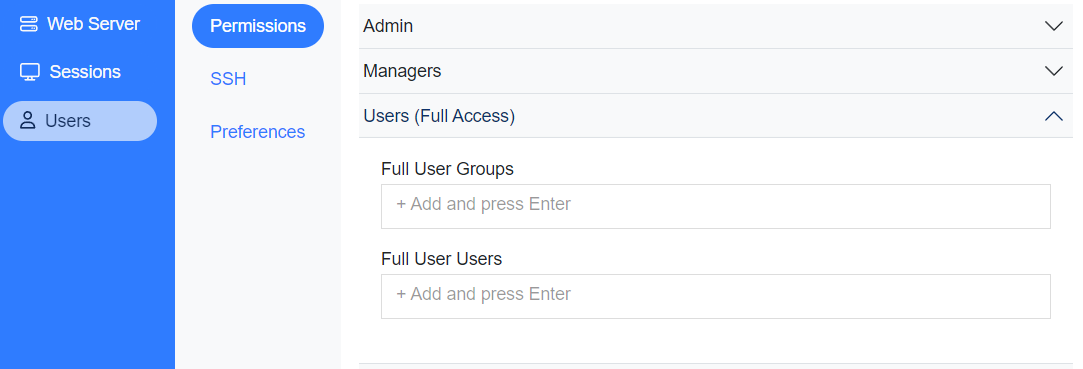
- Full User Groups – Linux user groups that will be full users. Input group name and hit enter to add the full user group.
- Full User Users – Users that will be full users. Input username and hit enter to add as full user.
Users (Limited Access)
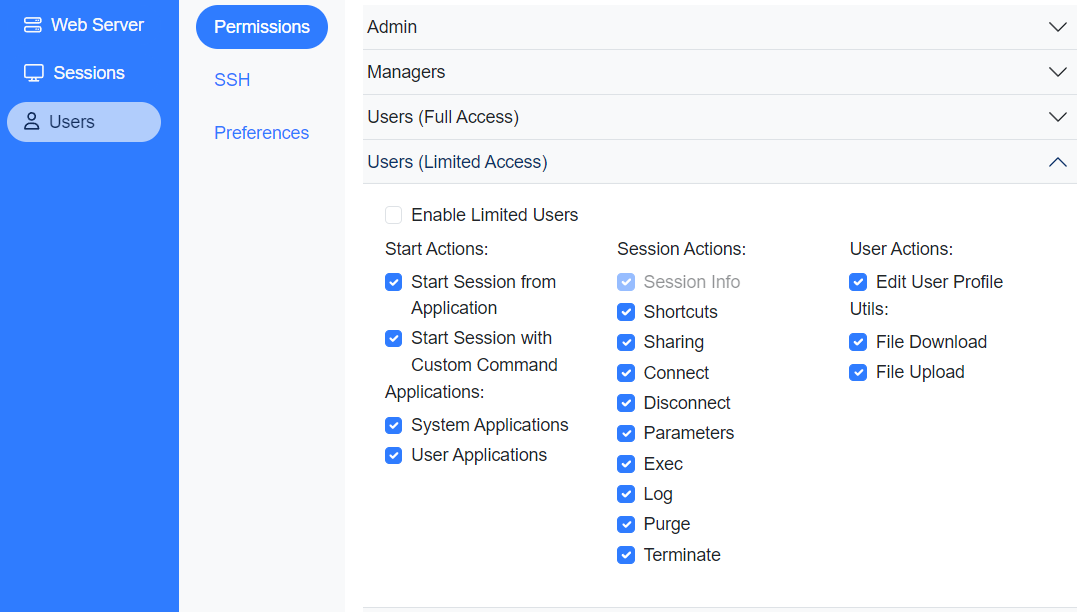
- Enable Limited Users – Check the box to enable limited users.
*Uncheck to restrict action
- Start Actions
- Start Session from Application
- Start Session with Custom Command
- Applications
- System Applications
- User Applications
- Session Actions
- Session Info – Access to session information
- Shortcuts – Access to shortcuts
- Sharing – Session Sharing
- Connect – Launch an application
- Disconnect – Disconnect from a running session
- Parameters – Set parameters for a session
- Exec
- Log – Access logs of a session
- Purge – Purge an active session from host
- Terminate – Terminate an active session
- User Actions
- Edit User Profile
- Utils
- File Download
- File Upload
Users (Disabled)
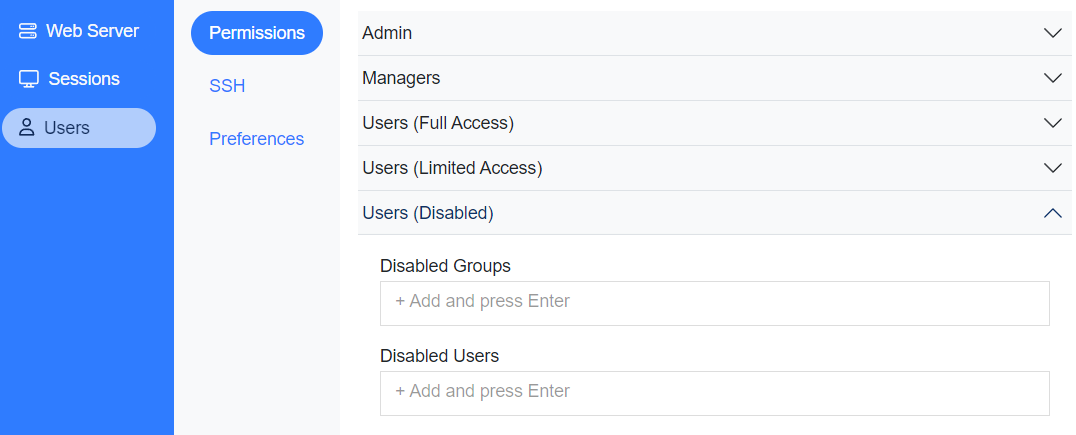
- Disabled Groups – Linux user groups that will be disabled. Input group name and hit enter to add disabled user group.
- Disabled Users – Users that will be disabled. Input username and hit enter to add disabled users.
SSH

- Enable SSH Banner – Check the box to enable SSH banner. Note: Enabling SSH Banner will cause DUO authentication to fail.
- Disable Public Key Authentication – Check the box to remove public key option on login page.
- Keyboard Interactive password prompt – A user logs in with SSH, add a list of regex prompts that the admin can query to automatically pass the password to the the challenge/response prompt.
Preferences
Set the user’s default preferences.
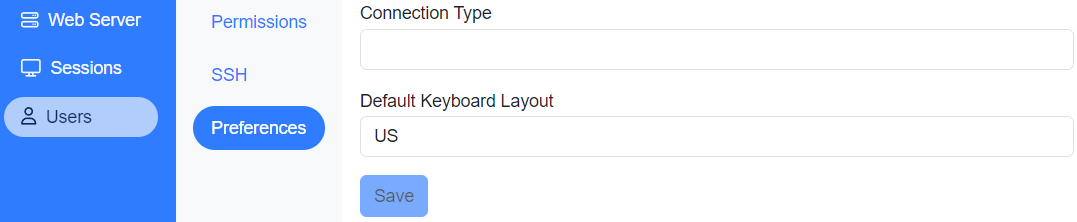
- Connection Type – How an application is launched when using a browser to log into FastX.
- User Select – Let the user decide what type of connection
- Browser – Launches an application in a new browser tab
- Desktop Client – Launches the FastX desktop client when an application is selected. (First time users will be prompted to download and install the client when launching application)
- Default Keyboard Layout – Set the user’s default keyboard language.